One Size Doesn't Fit All: How to Clean Your Sink the Right Way
 According to a study done in 2008, about half of kitchen sinks harbor over 100,000 bacteria per square centimeter. These germs are spread by the very sponges that people use for cleaning, and through everyday activities like washing food and dishes.
In fact, this same study found that many toilets are cleaner than kitchen sinks, largely due to the impulse to clean the toilet obsessively. Bacteria found in sinks included E. coli and salmonella, both of which can lead to hospitalizations or even death for some victims.
In addition to preventing food-borne illnesses, there are other reasons to clean your sink. For example, cleaning regularly simplifies food preparation by ensuring that you have a clean surface to use when the time comes to cook. Garbage and grime in a sink and garbage disposal also shortens the service life of an appliance and contributes to breakdowns. Whether or not you're a homeowner or you are renting a home in Nashville, a clean kitchen is a safe kitchen. The better you are at cleaning the kitchen, the more presentable the house will be for guests and loved ones.
Every kitchen sink is different, so this article will delve into the particulars of cleaning each type of sink, including some best practices that apply to kitchen sinks of all types. Here's what you need to know:
Table of Contents
Cleaning Your Sink
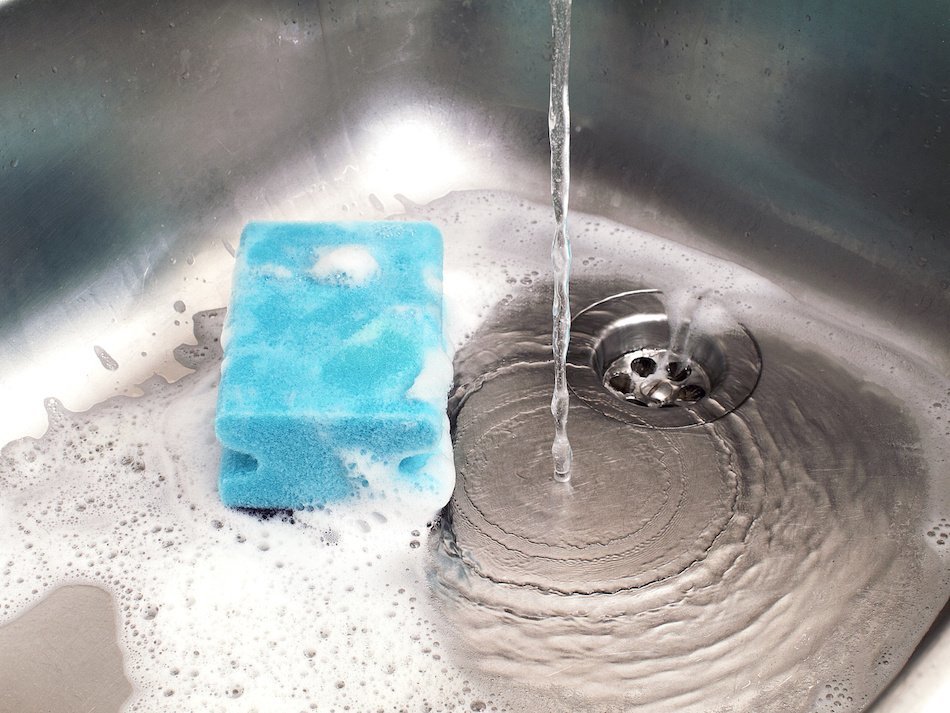
Cleaning the sink should be a daily activity. Spending a few extra minutes every day cleaning the sink can help maintain its beauty and cleanliness. As a result, the kitchen will be a more functional and safer place to prepare and eat food.
Start by rinsing your sink after every use. Rinsing a sink with hot water flushes away acidic liquids that could leave porcelain or stainless steel sink pitted. Use a clean paper towel to wipe away any stray food, then throw the paper towel away.
Avoid wiping down your sink with the same dish cloth that you used to clean the dishes. This dish cloth should be laundered after every use, or at least once per day to avoid contamination.
One of the reasons that kitchen sinks and other kitchen surfaces become so dirty is that people wipe them down with dirty dish rags. Approximately 90% of kitchen cloths are covered with 100,000 bacteria per square centimeter. Using these rags to wipe down surfaces actually makes the surface more dirty.
In fact, some studies show that people with poor kitchen cleaning habits have less bacteria on their home's countertops, because they refrain from wiping down their surfaces dish rags.
Once per day, sprinkle the sink with baking soda and use a clean rag or paper towel to scrub the baking soda into the sink. Wipe down your sink with a paper towel or clean rag soaked in white vinegar.
As an alternative, you can also clean the sink by draping its surface with paper towels soaked in vinegar and leaving them there for 20 minutes. When you're done, use the paper towels to wipe the sink, then throw them away. Rinse the sink with warm water.
Pro Tips:
Keep a toothbrush on hand to clean small crevices in the sink. Replace the toothbrush regularly, and soak it in vinegar occasionally to keep the bristles clean.
If you must use a sponge to clean the sink, sterilize it first by placing it in the microwave for two minutes. Make sure the sponge is damp before putting it in the microwave. When you're done, let the sponge cool off before touching it. Replace sponges regularly. Avoid cleaning your kitchen surfaces with the same sponge used to wash dishes or food. Many sponges become contaminated by touching surfaces that have touched uncooked foods like raw eggs and uncooked chicken.
Try to avoid rinsing uncooked chicken in the sink. If you do, clean the sink before doing the dishes to prevent them from picking up bacteria.
Stainless Steel
Stainless steel is quite a versatile material as far as sinks are concerned. You can find them in commercial kitchens and you can find them in Gallatin real estate listings. In addition to the "baking soda and vinegar" cleaning method described above, use soft abrasive kitchen cleaning products to deep clean your stainless steel sink once per week. Stainless steel has natural brush lines, similar to wood grain. When scrubbing a sink with abrasive cleaner, brush in the direction of the grain.
Before using your cleaning product of choice, check to ensure that it's safe to use on stainless steel. Follow all manufacturer's instructions when using chemicals to clean a sink, as chemicals can do damage if they're not used properly.
Rinse the sink after cleaning it to remove any traces of chemical cleaning products that could damage the finish of the sink. Once you've rinsed, pour a little olive oil on a paper towel and use the paper towel to buff the sink. Buffing the sink will make the surface shiny and attractive for days after cleaning.
Pro Tips:
- Highly abrasive cleaners can scratch the surface of stainless steel. Take care when choosing a cleaner to use one that clearly states it is a mild abrasive.
- Avoid leaving dish rags or sponges to dry on the edge of a stainless steel sink, as this will dull the surface of the sink and make it look less clean.
Granite Composite
Granite composite sinks are made from a combination of crushed stone and resin, molded into the shape of a sink. Granite composite is favored because of its exceptional hardness and beauty. However, granite composite is sensitive to exposure to certain chemicals.
If you own a granite composite sink, the first thing you should do is read the sink's warranty information and user's manual. One or both of these documents should outline a variety of cleaning products that are safe for the sink.
Because granite composite sinks can be sensitive to harsh cleaning products, deep cleaning it periodically is less effective than lightly cleaning it every day. After the baking soda and vinegar treatment, wipe it down with warm soapy water and rinse.
Pro Tip:
If you have hard water and are not treating it with a water softener, dry the sink after every use. Granite composite sinks will develop a dull, cloudy finish when regularly exposed to minerals.
Enameled Cast Iron
Enameled cast iron is attractive and durable, and is commonly found in older homes. People love enameled cast iron for its beauty — until it becomes scratched and the color begins to dull. Unless you know how to clean it properly, you could find yourself struggling to maintain a fairly dirty, beat-up looking sink.
Enameled cast iron works responds well to the baking soda and vinegar process described above, but this alone will not eliminate the stains and scratches that mar the interior surface after weeks of use. Check local hardware stores, home improvement centers or big box stores for enameled cast-iron cleaner, designed specifically to safely clean scratches on a cast iron sink. Use the cast iron cleaner weekly, following all instructions to ensure the job is done right.
Pro Tips:
- Enameled cast iron is porous, so it will absorb stains from dark colored drinks like coffee and tea. Limit this sink's exposure to these beverages to prevent stains.
- Avoid any abrasive cleaners, as this will scratch the enamel and contribute to staining in the future.
- Spread a paste of baking soda and water on tough stains, then use your cast iron cleaner to finish the job.
Fireclay
Fireclay is a beautiful material that comes in a variety of colors. This type of sink is popular among homeowners seeking a "vintage farmhouse" style kitchen.
Fireclay will scratch when cleaned with harsh abrasive cleaners. Use mild abrasives only occasionally, and check the manufacturer's instructions to ensure that any cleaner you use is safe for fireclay.
Fireclay chips fairly easily, if a heavy pot is dropped on the surface of the sink. Get these chips repaired quickly, or the exposed clay may stain more quickly than the polished surface of the fire clay.
The vinegar and baking soda method of cleaning your fireclay sink will suffice for every day use.
Pro Tip:
Like enameled cast iron, fireclay will stain quickly when dark liquids are left to sit on the surface of the clay. You can prevent this from happening by protecting the sink with a liquid wax designed for fireclay sinks. Liquid wax prevents the sink surface from absorbing the liquid. Liquid wax also encourages liquid to slip down the drain, thus protecting the sink from stains in more ways than one. Follow all manufacturer's instructions before using liquid wax.
Acrylic

Acrylic sinks are highly durable. Unlike some other materials, acrylic sinks can withstand limited exposure to harsh chemicals, like bleach. Check the instructions and warranty of your acrylic sink before applying any harsh chemicals, just to ensure that the sink will be protected.
Acrylic sinks respond well to the baking soda and vinegar all purpose sink cleaning method. You can also clean the sink with warm soapy water with good results. If the sink becomes stained, use a combination of bleach (1 tablespoon) and water (about 1/4 cup) to remove the stains.
Acrylic can be scratched when using harsh abrasives or steel wool to clean it. Light scratches can be buffed out with acrylic polish, available for sale from home improvement centers and hardware stores. Follow all manufacturer's instructions when using acrylic polish on a sink. Never apply any cleaner that does not specifically state that it is safe for acrylic surfaces, as some cleaners may contain harsh abrasives.
Pro Tip:
You may also be able to clean an acrylic sink by filling it with hot water and then pouring a small amount of bleach into the sink. Again, check your sink's specific maintenance instructions before trying this method.
Copper
Copper is an unusual material in that it develops a brown protective layer, called a patina, over time. This protective layer is natural and harmless. The way the patina develops on the sink will depend in part on your use of the sink. Some acidic foods will wipe the patina off of the sink, while others may hasten the development of the patina.
It takes just a few days of exposure to certain foods for the patina to develop. If you own a copper sink, understand that the patina is not dirt and does not need to be cleaned away.
Copper is a unique product in that it is antibacterial and does not require the deep cleaning that many other types of sinks require. In fact, copper is used in medical settings because of its antibacterial, antimicrobial properties. For this reason, a copper sink requires little more than a regular washing with warm soap and water.
Pro Tip:
Never use an abrasive cleaner on a copper sink, as it will mar the surface of the copper. If the idea of never deep cleaning your copper sink makes you uncomfortable, some companies that sell copper sinks will also sell special cleaner to help maintain copper.
How to Clean a Sink's Faucet & Sprayer
Faucets and sprayers have a lot of little creases in them, so there are lots of places where they can harbor germs. Clean your faucet and sprayer as often as you clean your sink. Most faucets and sprayers respond well to the same combination of baking soda and vinegar used to clean sinks. This helps prevent the spread of bacteria in the home (perhaps not the most thought-of hazard at home, but still an important one to deal with), and also prevents hard water buildup from ruining the faucet.
When cleaning a faucet and sprayer, use a toothbrush or a small scrub brush. Replace brushes frequently to stop the spread of germs. Between washings, soak the brush in vinegar to clean it.
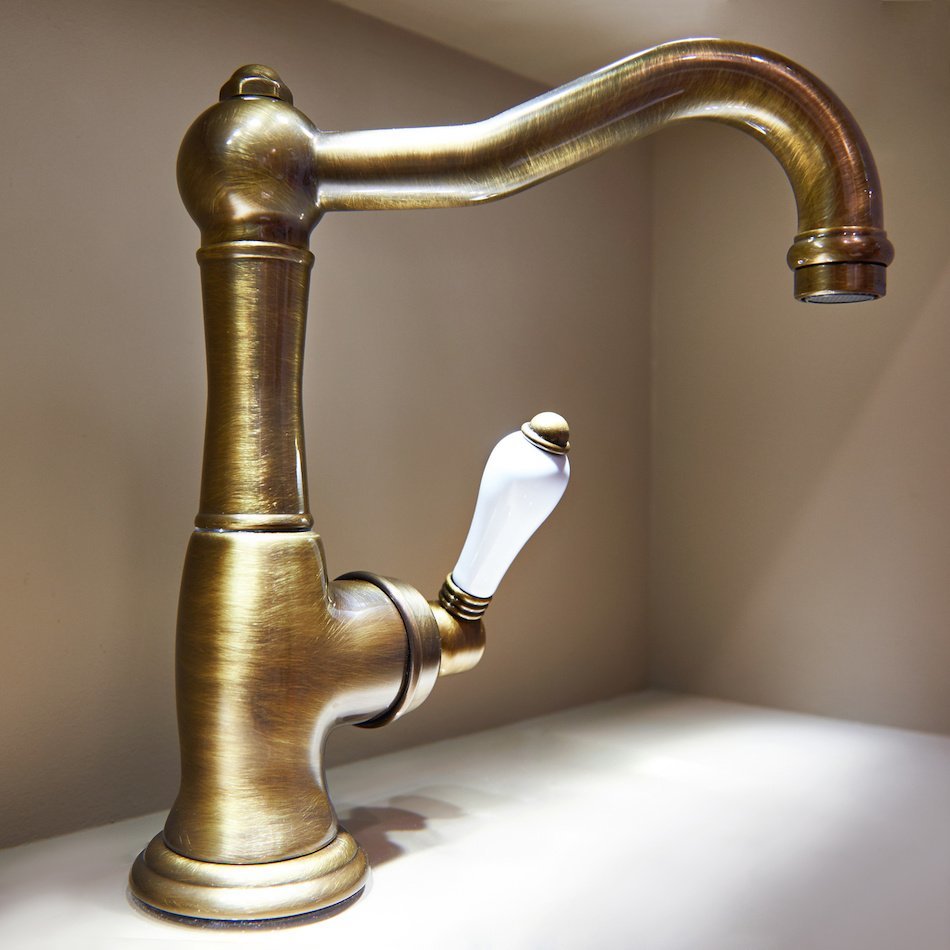
Bronze
Bronze needs regular gentle cleaning from a mild cleanser, but should not be exposed to harsh chemicals. Over time, bronze may change color, developing a patina similar to copper. This is normal and is not an indication that the bronze is stained.
To clean your bronze faucet regularly, mix a teaspoon of salt into three quarts of water, then dip the cleaning scrubber or toothbrush into the mixture. Scrub the fixture until visible grime has been wiped away. Dry the bronze fixture with a soft cloth, then put the cloth in the laundry.
Pro Tip:
To deep clean bronze, mix together a cup of vinegar with a teaspoon of salt, then add flour to the mixture to make a paste. Apply the paste to the fixture and leave it there for one hour. Wash away the paste when you're done.
Use a soft cloth to polish bronze fixtures. To bring out the extra shine, add a dab of olive oil to the cloth and burnish it well.
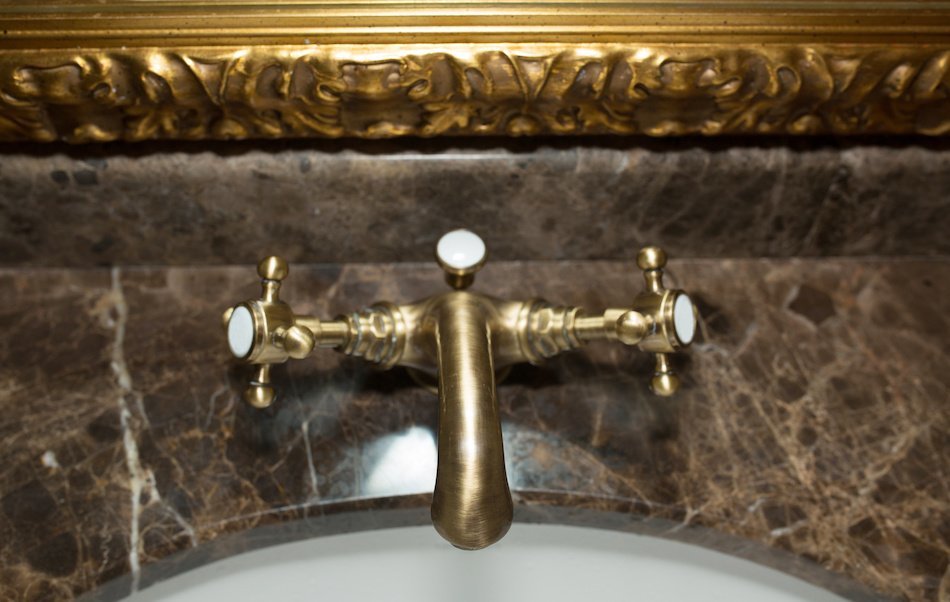
Brass
Brass starts out shiny and golden, but tarnishes with time. One can maintain the beauty and sparkle of their brass by cleaning it regularly with gentle cleaners. Avoid abrasives, especially if faucets are brass plated and not pure brass.
Most of the time, warm soapy water or vinegar will be enough to clean brass. If the brass starts to tarnish, acidic foods can help remove the tarnish. Cut open a lemon and coat the lemon with table salt. Rub the lemon and salt combination over the faucet, then buff the faucet to a shine with a microfiber cloth. Repeat as necessary.
Don't have a lemon? Coat the faucet with ketchup or tomato paste, leave it in place for an hour, then gently scrub away the ketchup. Use a toothbrush soaked in vinegar to scrub ketchup out of the cracks and crevices.
Pro Tip:
Avoid buffing or polishing plated brass aggressively. This can rub the plate off. You can tell if brass is solid or plated by applying a magnet to the faucet. If the magnet sticks, it's brass plated. If the magnet doesn't stick, the faucet is solid brass.
Stainless Steel
All stainless steel is quick to smudge, so cleaning regularly is an important part of maintaining the beauty of a stainless steel faucet. Many people will clean their stainless steel throughout the day, to wipe away fingerprints.
Stainless steel faucets are much like stainless steel sinks. Harsh abrasive cleaners can scratch the metal, and caustic cleaners can do damage to the surface. Mild abrasives can be used from time to time when deep cleaning is needed. Scrub in the direction of the grain when using these cleaners, and always read the faucet's warranty before using a harsh cleaning product.
Clean the faucet on a daily basis by spraying it down with vinegar and club soda. Use a toothbrush to scrub the little crevices of the faucet, then polish the surface with a microfiber cloth.
When polishing the surface, rub the faucet in the direction of the grain to protect it from scratches. This helps the faucet develop a nice shine.
Pro Tips:
Stainless steel faucets look best when they've been polished a little. You can polish the faucet by purchasing stainless steel cleaner and combination polisher, or you can polish the faucet with olive oil and a soft rag.
Highly polished stainless steel is especially vulnerable to scratches, so choose cleaners and rags carefully. Faucets that have a duller, grainier appearance and will generally show scratches less easily.
Zinc
Zinc is an unusual metal with characteristics that give a home some country charm. The unusual character of a zinc faucet means the care routine is unusual as well.
Unpolished zinc can develop pock marks, scratches and pits over time. You can leave these marks as is, or use sandpaper to sand them out. Zinc also develops a patina, similar to copper, that varies from one faucet to the next. The patina goes away when using sandpaper to eliminate scratches. When the patina returns, it will not be the same.
In addition to vinegar, you can also clean a zinc faucet with lemon and salt. Lemon will also remove the patina.
Polished zinc needs to be repolished from time to time, using specialized zinc cleaner. If it is not, the zinc may become dull.
Pro Tips:
Never use bleach on a zinc faucet. Bleach and zinc react strongly together, so the surface of zinc is marred after contact between this metal and harsh chemical.
Copper
Like the copper sink, copper faucets are best cleaned with vinegar and warm soapy water. Over time, copper will develop a patina of a rich red-brown color. Like zinc, copper's patina varies from one faucet to another, depending on the way it is maintained, quality of the water and other factors.
Deep cleaning copper faucets is not necessary because copper is antimicrobial. One can remove the patina if they don't like it by soaking the copper in vinegar, lemon juice or ketchup. However, you'll be fighting a losing battle. Copper develops this patina naturally, and without constant maintenance, a copper faucet will turn the color of an old penny.
Cleaning a faucet with vinegar will prevent the patina from building up heavily, as will cleaning a faucet with salt. Salt will scrub away the upper layers of patina.
Pro Tip:
Although you can remove the patina if you don't like it, patina does no harm and also does not harm the faucet. If you'd like to let the patina sit and build up on the faucet, you can do so without doing any damage.
Sprayers
Faucet sprayers force a jet of water through the tiny holes in the aerator at the end of the fixture. Over time, mineral deposits can build up inside a sprayer. This is especially common in homes with hard water.
When the deposits build up in the sprayer, this causes the sprayer to clog. To clean out the sprayer, remove the aerator on the end of the sprayer. This is done easily by unscrewing the aerator. Look inside and run the aerator under the faucet. If necessary, use a toothpick to poke out the minerals. Once finished, screw the aerator back on.
Pro Tip:
If your sprayer doesn't have a detachable aerator, soak the aerator in vinegar for an hour, then turn on the water and test the sprayer. If this doesn't help, purchase a demineralizing cleaner. Mix the demineralizing cleaner with water according to the manufacturer's instructions, then place the cleaner in a bowl near the faucet. Soak the sprayer in the demineralizer for about 15 minutes, then try the sprayer again.
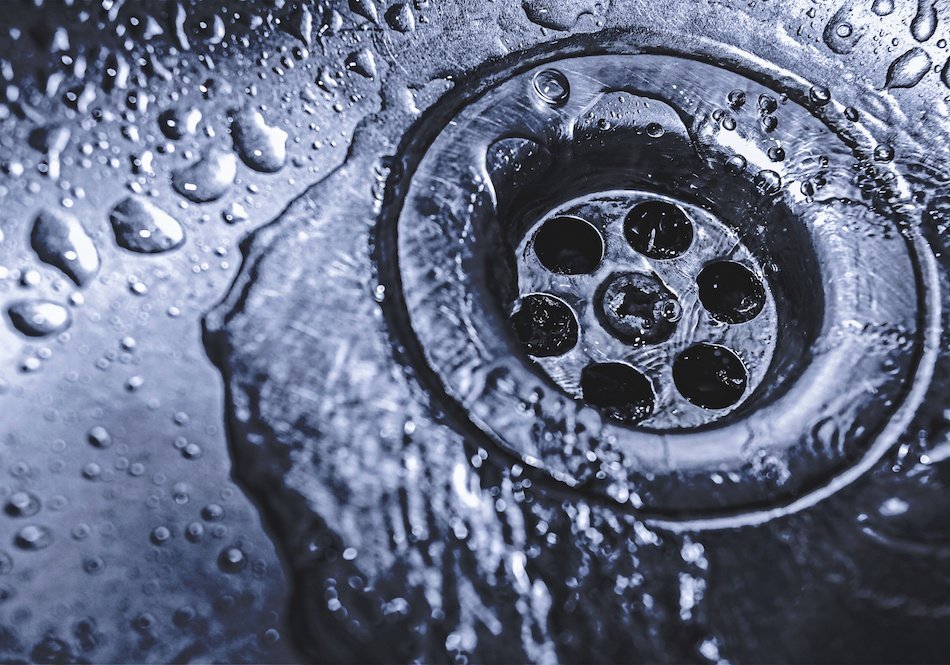
Caring for Your Drain & Garbage Disposal
Drains and disposals can get even messier than sinks. Even though your drains and disposal don't come into contact with food that's being prepared, keeping these parts of the sink clean can cut back on odors and clogs.
Cleaning Drains
To clean the drain, start by removing the stopper. Soak the stopper in a combination of hot water and vinegar for about 10 or 15 minutes, then wipe down the stopper with a clean rag.
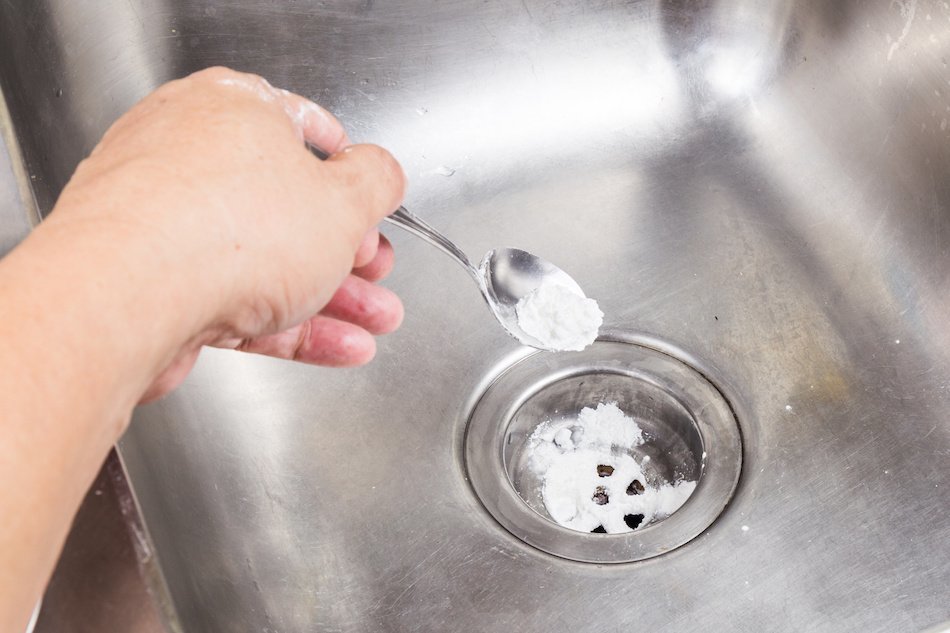
While the stopper is soaking, sprinkle the drain with baking soda, then pour vinegar into the drain. When you pour vinegar into the sink, the baking soda will bubble over just like a grade school volcano. Once the baking soda dies down, let it sit for a while. Finally, pour the leftover vinegar water that cleaned the stopper into the drain. This will flush the drain and remove odors.
Cleaning Garbage Disposals
Garbage disposals can develop an odor over time, and buildup inside the garbage disposal can reduce the effectiveness of the unit. There are several different ways to clean your disposal, depending on what's wrong with the unit.
Eliminate Buildup
If the inside of the disposal is coated with old, sticky food, pour ice and rock salt into the disposal and turn it on. The salt helps scrape away anything caught to the inside of the disposal, while the ice helps sharpen the blades as they spin.
Cut Odors
If the disposal develops an odor, sprinkle the inside of the disposal with baking soda and allow it to sit over night. In the morning, pour vinegar down the drain. The vinegar with react with the baking soda, and bubbles will appear in the sink. Turn on the disposal to spin the two products inside. Finally, chase the vinegar with hot water.
General Cleaning
Even without buildup or odors inside a garbage disposal, you should still clean the unit on a regular basis. Put a stopper in the sink drain and fill the sink with hot, soapy water. Pull out the stopper out and run the disposal. The hot, soapy water will flood the unit and clean the disposal. Do this weekly to keep your disposal in good condition.
Pro Tips:
Read the manufacturer's instructions before cleaning your garbage disposal. Follow any special instructions provided by the manufacturer.
Never reach into the the disposal without first cutting the power to the unit. To cut the power, unplug the disposal or flip the switch on the unit itself; do not rely on the switch over the sink.
Dealing With Common Problems
At one point or another, most sinks will experience problems that go beyond bacteria and grime. Knowing how to DIY common problems can help keep your sink clean and functional. As a homeowner, it's to your benefit to be able to take care of a sink without regularly calling for a plumber or handyman. Here's what you need to know.
Drain Odors
Drain odors can occur for a variety of reasons, and they have the potential to scare away potential buyers of even a Brentwood home for sale. A clog made of decaying matter, presence of bacteria in the drain and even lack of use can cause drain odors.
Combine baking soda and salt together in a container, then pour the salt and baking soda down the drain. Heat vinegar in a pan, then pour the hot vinegar down the drain. The vinegar and baking soda will react together. Leave the mixture sitting in the drain for several minutes, then flush it with hot water. Repeat this process as often as necessary.
Pro tip:
If the sink is not used frequently, the problem could be a dry P-trap. The drain runs to the sewer or septic tank. To prevent gasses from rising into the home, the P-trap carries water that acts as a shield between the sewer and the home. If the P-trap dries up, you might start to smell sewer gas near the drain. Run the water in the sink for a few minutes to fill the P-trap. If the problem persists, contact a plumber.
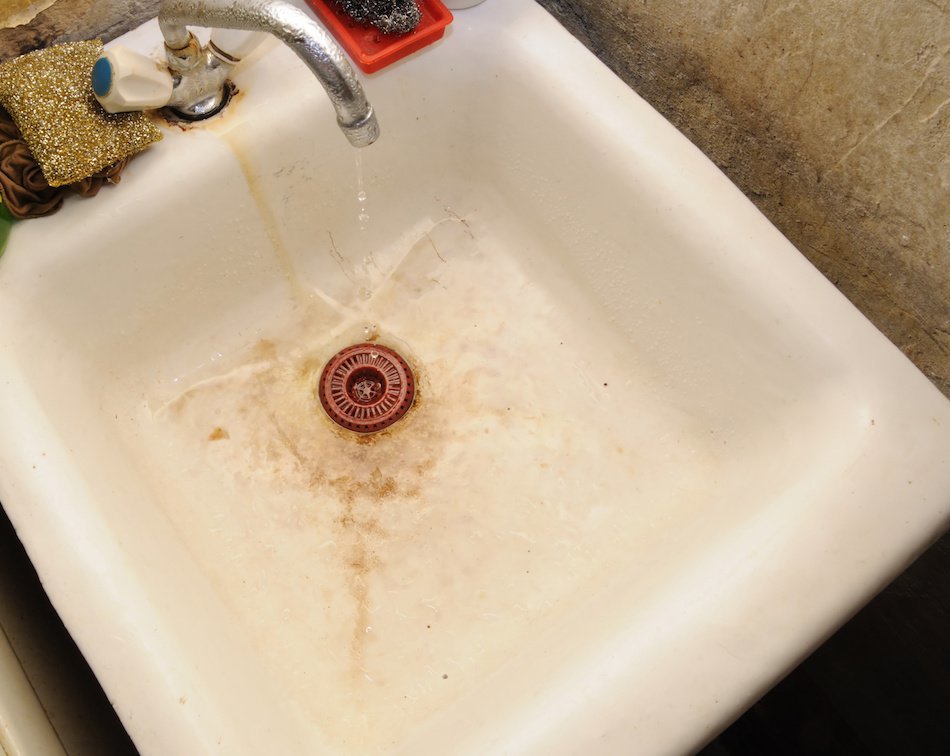
Slow Draining Sink
A slow drain can leave a sink coated in grime every time you drain the water. The next time the kitchen sink starts to drain slowly, try these tactics before contacting the plumber:
- Pour several cups of vinegar down the drain and let the vinegar sit for an hour before flushing it with hot water.
- Snake the drain with a plumber's auger.
- Clear the sink with a plastic hook tool.
If your sink is still slow after trying the above methods, plunge the sink using a plunger. To do this, fill the sink with water and place the plunger over the drain. Pump the plunger up and down to push the clog out of the drain.
Pro tips:
- If the sink is a dual sink, plug the drain for the adjoining sink before using the plunger.
- Deep clean the sink after using the plunger to clear the drain.
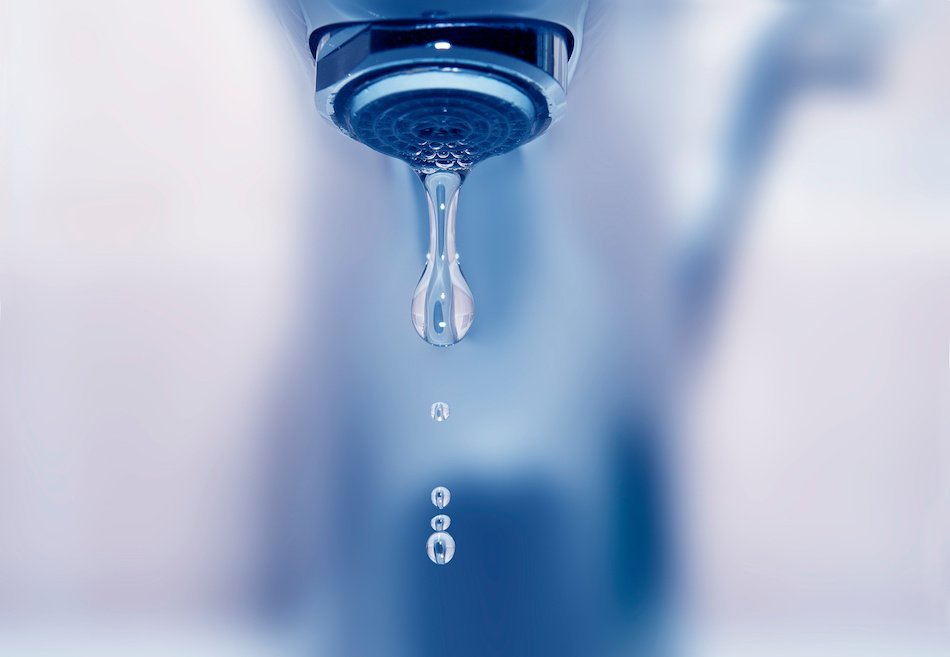
Poor or Uneven Water Flow
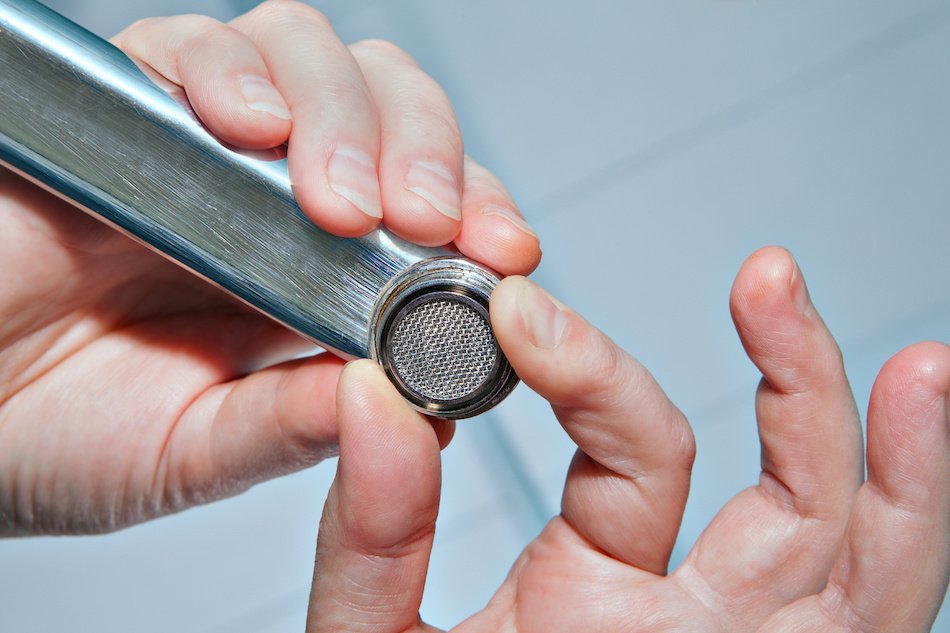
Water flow in a sink is controlled by the water aerator, which is attached to the end of the faucet. The aerator mixes the flow of water with air, to reduce your water usage. When a water aerator is clogged or goes bad, this can reduce water pressure or cause the water to come in strange bursts. Repairing the water aerator can ensure good flow from a faucet. Bathroom sinks can also be highly susceptible to this issue.
As described in the sprayer section, you can clean the aerator by unscrewing it and cleaning out the gunk. Usually debris in the aerator can be removed by hand or poked out with a toothpick. If cleaning the aerator doesn't work, aerators are easy to replace. Purchase one from a local hardware store or home improvement center. Sometimes the greatest challenge with replacing an aerator is ensuring that the aerator matches the material the faucet is made from.
Pro Tip:
Some aerators are designed to save more water than others. Check the GPM (gallons per minute) on each aerator before selecting one to buy.
Hard Water Buildup
Hard water is water that contains a lot of minerals. Hard water can leave a buildup, called scale, on sinks and faucets. Removing hard water buildup can be a challenge. To remove scale from your sink, fill the sink with vinegar and let it sit for an hour. After it's finished soaking, drain the vinegar and use a scrub brush to remove the scale. Repeat as needed.
To remove hard water from a faucet, soak a rag in vinegar and wrap the rag around the faucet. Leave the rag in place for an hour, then remove the rag and scrub away the vinegar.
Cleaning Products to Never Mix
Mixing some cleaning products can be dangerous. Educate yourself before getting creative with harsh chemicals. Beware the following chemical combinations:
- Bleach and vinegar.
- Bleach and ammonia.
- Bleach and rubbing alcohol.
To be on the safe side, avoid mixing bleach with anything that isn't water. You should also avoid mixing different types of drain cleaner. Drain cleaners contain harsh chemicals that, when combined, could have serious consequences.
Not sure whether two chemicals are safe to mix? Check the instructions provided with the bottle. The manufacturer should let you know the proper way to use the cleaning product.
Keeping Your Home Clean
Clearly, proper sink maintenance is important. A dirty sink can expose households to germs and cause odors in the kitchen. Dirty sinks also look bad and can make a kitchen a less safe and less appealing place to be. Cleaning your sink regularly is an excellent way to ensure that it will maintain its functionality and beauty.